
How to put brick slips on the wall? 9 tips to fix it right!
9 September 2020
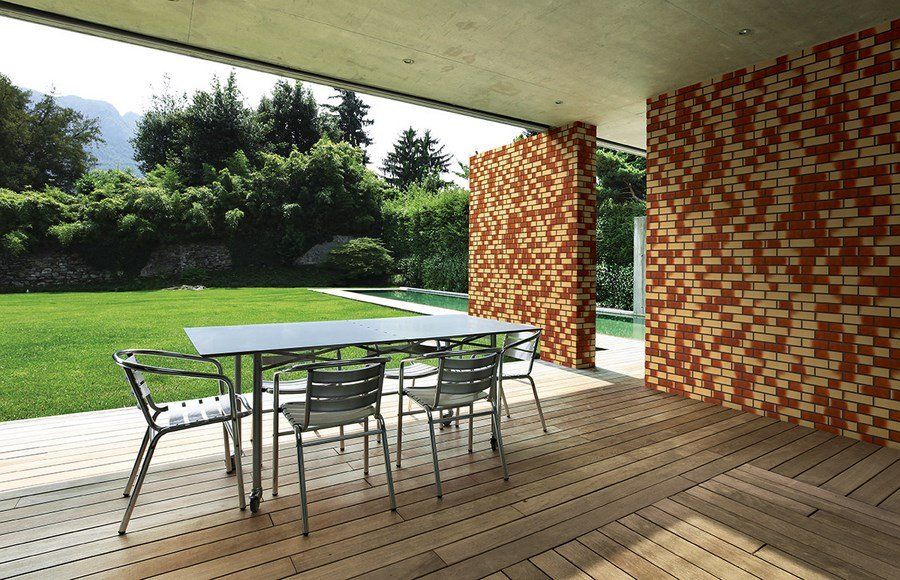
Have you always dreamed of beautiful brick walls in your living room or kitchen? Or maybe you want to spruce up the facade of your building and install elegant and durable brick cladding? Many clients want to use bricks in their designs but are afraid of the cost and effort of this solution. Fortunately, you can select brick slips which are much more affordable and convenient. How to apply brick slips on your own? Let’s find out!
Why choose brick slips instead of the brick?
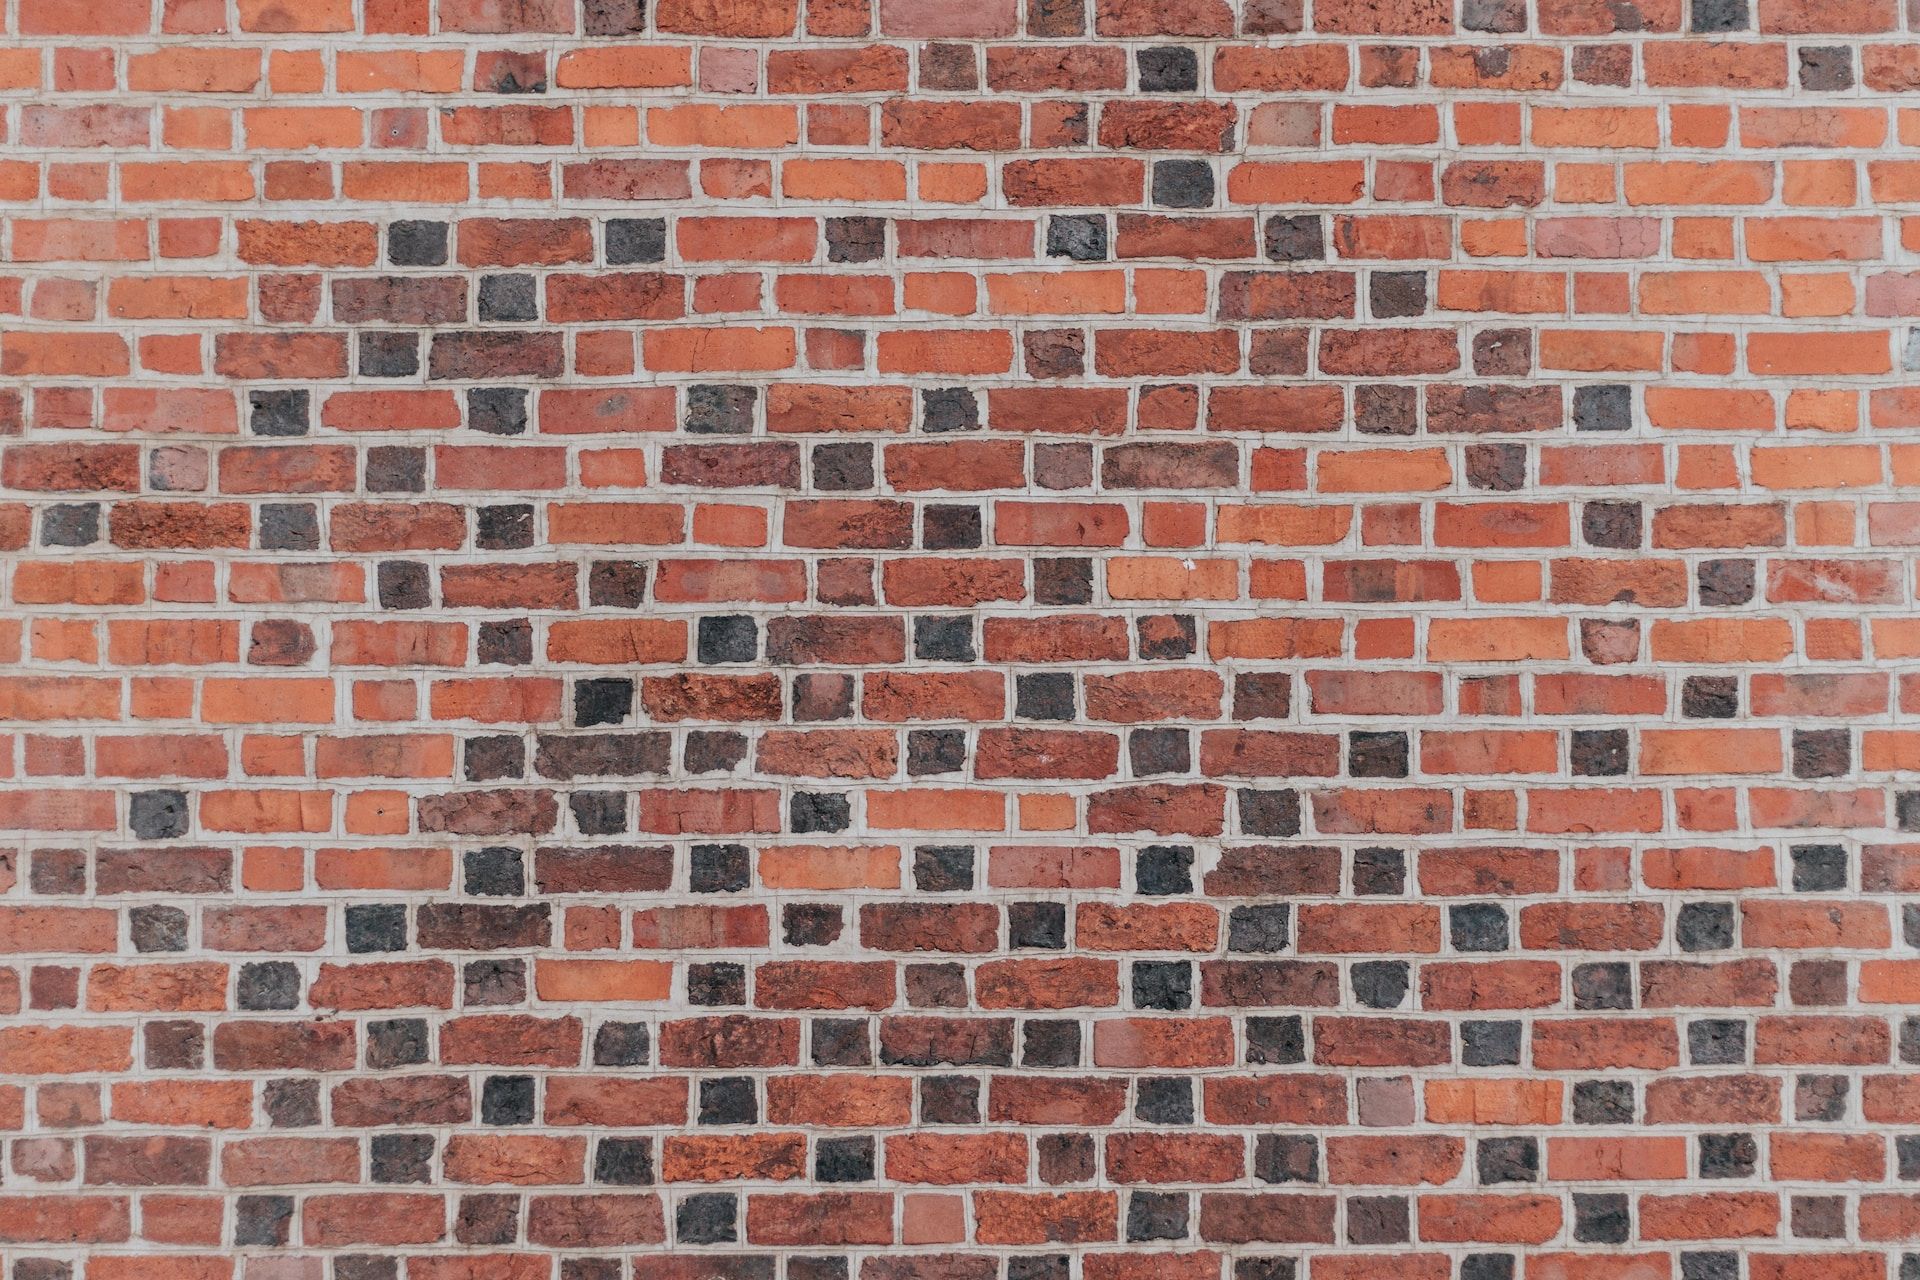
Brick slips are parts of real bricks that have been shaped in much thinner slices. They take up less space than traditional bricks, so they are perfect for the interiors where every centimetre of space counts. On the market you will find numerous versions of this product - slips can be made from reclaimed, handmade or modern bricks - and they vary in colour, texture and size.
How to fit brick slips? 9 tips for you
Many people noticed that brick slips look a lot like tiles and it’s not a complete coincidence! The method of installation of these two products is quite similar. So how to put brick slips on the wall in the correct way?
- You should start by preparing the surface you’re going to work on - be sure to wipe down any accumulated dust and when the area is clean and dry, apply the primer. You may go with one or two coats, depending on the overall state of the substrate.
- Next, you should move on to the mixing of adhesive - steer clear from mortar, and instead choose cement-based products. If you don’t have much prior experience avoid quick setting versions or just mix smaller batches - you’ll refrain from wasting the product. While preparing the mixture, follow the producer’s instructions and make sure there are no lumps.
- When your adhesive is ready, you can move on to the installation of brick slips but be sure to rinse each piece in warm water beforehand.
- You’ll want to start from the bottom and arrange the first row of bricks. It will serve as a baseline, so make sure it’s level.
- How to fit brick slips? You may apply the adhesive directly to the surface of the wall and then put the brick slips on, or you can spread the mixture on the back of each brick slip and then place them on the substrate. Check which method is best for you.
- Position the first piece in the chosen spot and then place a tile spacer on the side of the brick slip and at its top.
- Continue the process until you finish the first row. Then you can move upwards and start on the next one.
- Once you complete the installation of all the brick slips, you should move on to pointing. Use the mortar to fill the spaces between the pieces.
- When the mortar dries down a little but is still pliable, use a pointing tool to form a smooth finish.
Latest on our blog

Enhance your living room with brick cladding, a popular and durable option that offers a variety of colors and textures. Low maintenance and fire-resistant.
What is the cost of brick cladding? Check out this helpful blog post, from which you will gain all kinds of valuable information.
Do you want to try your hand at fitting brick slips? How to install brick cladding, so you achieve the best result? Let’s find out!